
Reserves Workflow
Studio OP's managed Reserves workflow is used to generate mining block reserves that can be scheduled to form a mine plan. Mining blocks are represented by wireframe solids and outlines. The workflow consists of managed tasks that can be accessed from the Reserves ribbon.
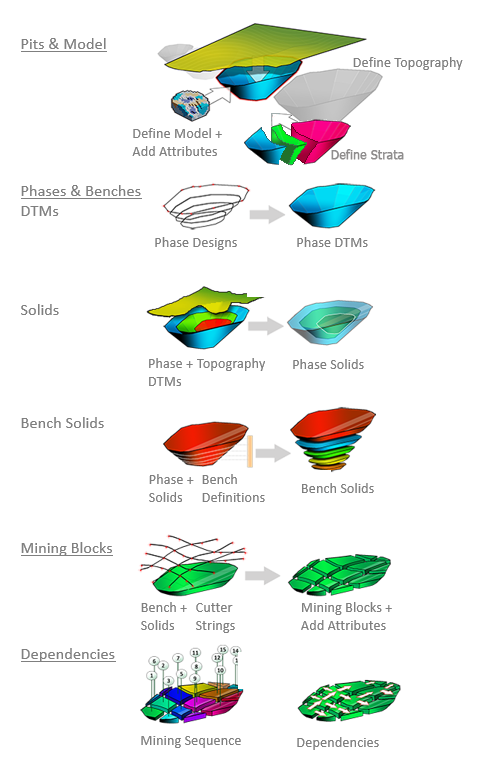
The workflow takes you the process of importing and managing planning block models, using mine phase designs and topographies to create phase shells, defining benches and mining block outlines and finally generating mining block reserves that can then be scheduled.
The Reserves Workflow is part of a larger overall capability of Studio OP; the reserves and supporting data files that are created and managed by the reserves functionality can be used as a starting point for operational scheduling, which in itself can generate data, subsequently optimized by Datamine's MineTrust service, which is then consumed by a production scheduling system such as Datamine's Datamine Task Scheduler, for example.
Managed Tasks
Workflow tasks are found on the following ribbons:
- Setupribbon
- Designribbon
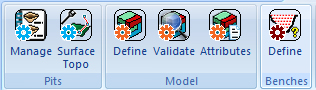
- Reserves ribbon
A managed task can be identified by its style of icon; all managed task icons contain the same distinctive cog and rectangular background. Each group of related commands are associated with cogs of the same colour.
Linear Workflow
Generally, data flows through the reserves workflow from left to right.
You can step back at any point and make revisions to earlier steps. If those changes are saved using a managed reserves workflow task, and this invalidates data that is generated later in the workflow, later reserves workflow tasks are disabled as their data context is no longer valid.
For example, if you have evaluated your reserves but then modify and regenerate your bench solids, you will only be able to access the block generation tasks and earlier steps in the workflow. This ensures data associated with managed tasks is up to date.
As such, if there are disabled Reserves ribbon buttons, it is likely those tasks do not yet have data available that is up to date.
The Task Pane
The user interface for the managed tasks is usually presented in
the Task pane which can be docked
or free floated according to your preference.
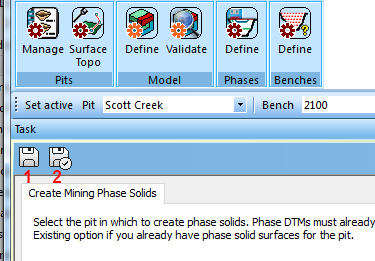
There are two buttons at the top left corner of each Task panel;
- This is used to save the Task - this will store all settings and save all associated data files on disk.
- This is used to save and close the Task.
Pits and Phases
Following initial setup, many managed tasks within Studio OP require selection of a pit/phase context before you can start to work.
Studio OP will always try to persist your current pit/phase selection so that the same are automatically selected in subsequent tasks.
Note: Sometimes it isn't possible to do this (for example, a pit and phase combination is missing important entry criteria for a task, in which case the first qualifying pit-phase combination is selected instead).
Workflow Overview
The workflow manages a database (in the form of Datamine tables) that you do not need to deal with directly. When you add existing external files to the project they are copied to the database by Studio OP as required.
Select a part of the image below for more information
Related topics and activities: